Create a new email#
Create a dedicated email or inbox for various homelab purposes.
Register a domain#
For good OPSEC and privacy, this should be something unique from other public identities. Although it’s typically included, make sure your registrar and domain will include WHOIS privacy, which results in the registrar replacing your private information with theirs in the public database. While
I installed Proxmox previously but wasn’t ready use it until now, so first I changed my email for alerts.
Update Packages#
https://pve.proxmox.com/wiki/Package_Repositories
/etc/apt/sources.list
deb http://ftp.debian.org/debian bookworm main contrib
deb http://ftp.debian.org/debian bookworm-updates main contrib

# Proxmox VE pve-no-subscription repository provided by proxmox.com,
# NOT recommended for production use
deb http://download.proxmox.com/debian/pve bookworm pve-no-subscription

# security updates
deb http://security.debian.org/debian-security bookworm-security main contrib
apt update && apt upgrade
SSH Key#
- Create a GitHub account using the lab email from earlier
- Add a passkey via Yubikey
- Generate a new SSH key for the lab, add it to GitHub
Tailscale (VPN for Remote Access)#
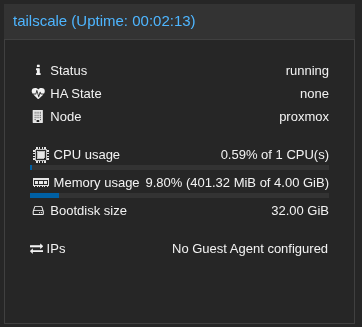
Create an Ubuntu 24.04 VM named tailscale
Copy SSH key from Github during installation
Follow installation on tailscale VM: https://tailscale.com/download/linux
Download app and follow installation on mobile.
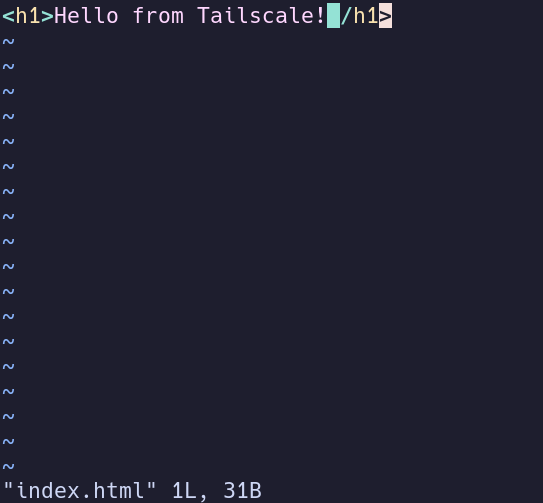
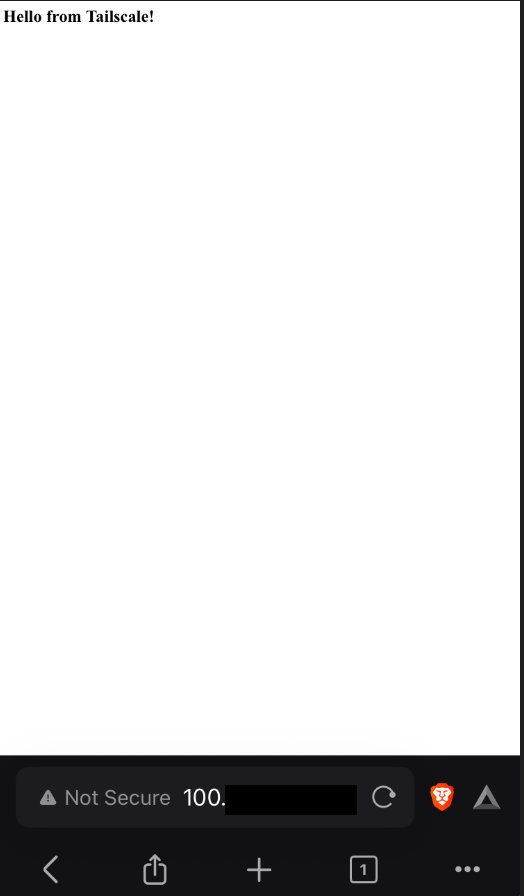
Create test index.html on the tailscale server, serve it with
python3 -m http.server 8080. Ensure able to reach while off WiFi, only accessing via Tailscale.
- Install on workstation by installing tailscale and signing in with same GitHub account.
Next up is Immich Installation.